
Countersinking cuts a conical seat so a flat-head screw sits flush with the surface—no snag, no leak path, no sharp edge. It sounds trivial, but countersinking services decide whether an assembly looks clean and assembles fast or fights you at every screw. This guide covers angles, tolerances, and how we keep countersinks consistent from the first hole to the ten-thousandth.
What Countersinking Does
A countersink lets the fastener head drop below or level with the part face. Beyond looks, a flush seat removes a hygiene ledge on food-grade equipment and a trip hazard on structural plates. It also buries the sharp burr left by drilling, which is why we treat it as a quality step and not just a finish.
Angles and Specs
82° fits most US flat heads; 90° is common in Europe and on sheet metal; 100° and 120° suit thin or soft materials. Match the angle to the screw or the head bridges the seat. We hold depth so the head sits just below flush, not proud, because a proud head is what snags a gasket or a glove.
The Process
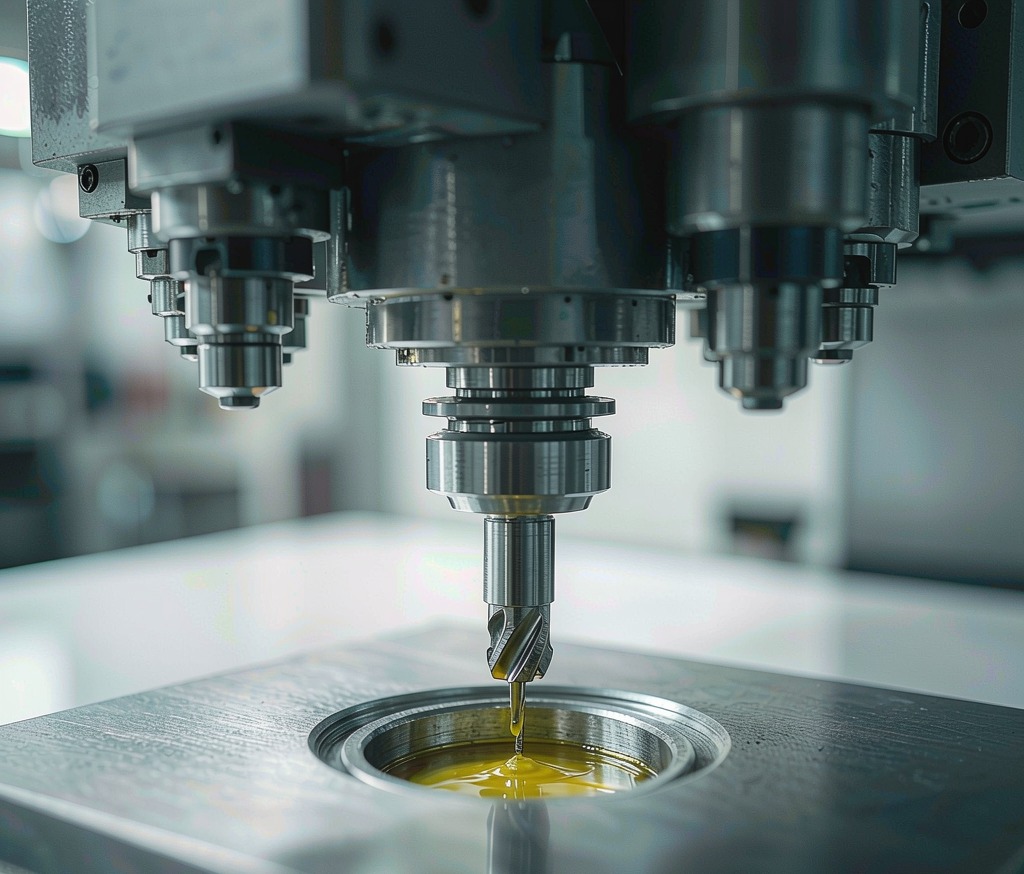
We drill, then countersink in the same CNC setup using a piloted cutter for concentricity. Boring handles counterbored (flat-bottom) seats where a socket cap screw needs a shoulder. Precision parts keep the pilot in the drilled hole so the cone stays centered even on a curved or thin face that would walk a free cutter.
Burr Removal
Countersinking is also our go-to deburr step on drilled holes. We deburr the entry and exit so the fastener seats true and the operator’s hands stay safe. Light edge breaking finishes the face where needed, and on a welded assembly we countersink after weld so the seat is true to the final surface, not the raw one.
Design Tips to Save Cost
Specify the screw head on the drawing so we pick the angle once, and avoid countersinking right at a thin edge where the cone breaks out. If the part is aluminum, a slightly larger diameter hides minor variation; if it is hard steel, a coated pilot cutter lasts far longer. Full CNC cells switch angles automatically, so mixed fasteners in one batch are not a problem.
Quality Control and Inspection
We gauge the angle and the depth, and we check concentricity by probing the pilot so the seat never drifts off the hole. On audit parts we add a flushness check with a feeler so a proud head is caught before assembly. Because the operation is automated, every seat in a run matches the first one we approved.
Lead Time and How to Request a Quote
Send the drawing with the angle, diameter, and max depth below flush, plus the material and quantity. Standalone countersinking runs in days; combined with drilling it is one setup and one price. We quote the angle and depth tolerance up front, and a short call on the screw standard usually prevents a wrong-angle rework.
Getting Countersinks Right in Volume
Countersinking looks simple until a run of ten thousand seats drifts and the screw heads sit proud. The fix is process discipline, not a better cutter. We pilot the countersink in the drilled hole so the cone stays concentric even on a thin or curved face that would walk a free cutter, and we probe the pilot so the seat never drifts off the hole. Full CNC cells switch angles automatically, so mixed 82° and 90° fasteners in one batch are not a problem, and every seat in the run matches the first one we approved. Depth control is the other half: we seat just below flush by default and gauge the angle and depth on audit parts with a feeler so a proud head is caught before assembly. Combined drill-and-countersink setups are one price and one lead time, which beats running the operations separately. A common mistake is countersinking at a thin edge where the cone breaks out, or picking the wrong angle for the screw; both are designed out when the screw standard is on the drawing. Send the angle, diameter, and max depth below flush with the material and quantity, and we will quote the depth tolerance up front so the first batch is also the efficient one and your operators never fight a snagging fastener again.
For hard steel, a coated pilot cutter lasts far longer, and on welded assemblies we countersink after weld so the seat is true to the final surface, not the raw one, which is what keeps the joint flush after paint. Volume work stays consistent because the operation is automated and every seat is probed against the approved first piece. A proud head caught at inspection costs a rework; a seat built true in the first setup costs nothing extra.
Frequently Asked Questions
82 or 90 degrees—which?
Match the screw: 82° for American flat heads, 90° for metric and sheet metal.
Can you countersink thin sheet?
Yes—use 100° or a smaller dia so the head does not blow through.
Does it remove the drill burr?
It does; we treat it as the deburr step on most holes.
What tolerance on depth?
±0.05 mm typical; we seat just below flush by default.
Can you do thousands consistently?
Yes—piloted cutters and probing keep every seat identical.
Ready to Start Your Project?
Get a build-ready quote on your custom metal parts within 24 hours. Share your drawing and our engineers will respond with process, lead time, and pricing.