
Aluminum extrusion turns a heated billet into a continuous profile by pushing it through a die—an efficient way to make rails, frames, heatsinks, and enclosures with complex cross-sections. But a profile that looks great in CAD can be impossible or expensive to extrude. This aluminum extrusion design guide covers the rules that keep your profile straight, strong, and affordable.
How Aluminum Extrusion Works
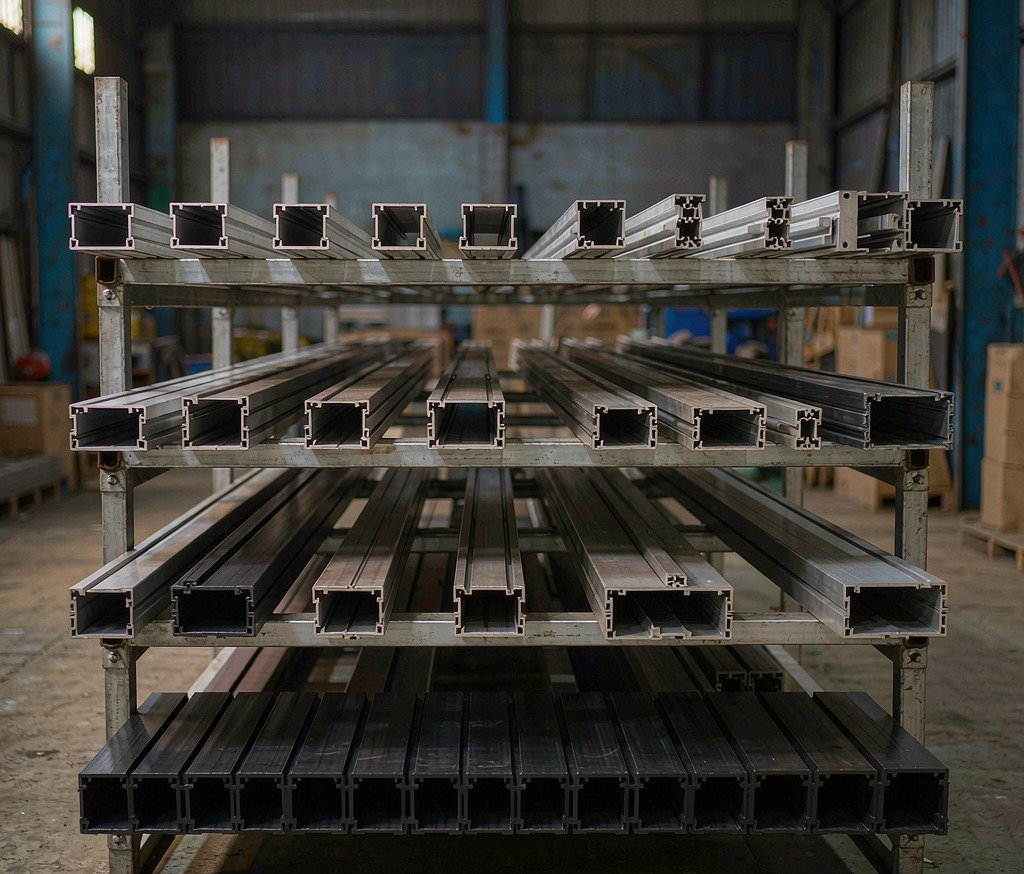
The press forces heated aluminum through a steel die shaped like your cross-section, producing a long, consistent profile that is then cooled, stretched, cut, and finished. Our Aluminum Extrusion process handles custom dies in 6063, 6061, and other alloys. Because the shape is formed in one pass, near-net geometry is cheap—unlike machining it from a block.
That single-pass economy is the whole point of extrusion. A complex rack or frame that would take many milling and bending operations to build from plate can often be extruded as one profile, then cut to length and joined. The saving is not just material but labor and fixtures across every unit. The design trade-off is that the shape must be extrudable—which is exactly what the rules below protect.
Wall Thickness and Symmetry
Keep walls reasonably uniform and at least about 1 mm (thicker for long runs) so the metal flows evenly and the profile stays straight. Wide thickness variation cools unevenly and warps. Symmetry balances die loading; asymmetric sections can bow or twist. Generous radii at internal corners reduce stress on the die steel and improve surface finish. Hollow sections use a weld seam that must sit away from loaded areas.
Tongue ratio is the detail that breaks dies. A “tongue” is a narrow projection of die steel between open sections; if it is long and thin, the pressure deflects or snaps it. Ratios around 3:1 to 4:1 are generally workable, while 8:1 likely fails. If your design needs a deep narrow slot, widening and shortening it leaves more steel in the die and makes the part producible. This is the kind of change a pre-die review recommends—small on the drawing, large for tool life.
Alloy and Temper Selection
Choose by function. 6063 is the default for architectural and decorative profiles—easy to extrude and anodize. 6061 and 6082 suit structural load where strength matters more than finish. Specify temper (T5/T6) with the strength need, not by habit. The alloy also affects how well the part takes Anodizing—6063 gives the cleanest decorative finish.
Do not pick the alloy before you know the load case. A common error is specifying 6061 for a visible trim part where 6063 would extrude cleaner and anodize better, simply because 6061 sounds “stronger.” Match the alloy to what the profile actually does: appearance and form, or structure and load. The right choice lowers both cost and finish risk without sacrificing performance where it counts.
Tolerances and Finishing
Use standard industry tolerances wherever possible and reserve tight tolerances for assembly-critical features. Powder Coating and anodizing add thickness that can shift fits, so plan coating allowance into the drawing. Deburring cleans cut ends. For cutouts and holes in the profile, Fiber Laser Cutting or CNC machining adds features after extrusion.
Die Feasibility Review
Before the die is cut, have the extruder review the cross-section for tongue ratio, wall balance, and circle size. A deep narrow slot or heavy asymmetric mass can break or deflect the die steel. Small design changes—widening a tongue, rounding a corner—often save thousands in tooling and rework. CNC bending of the extruded profile is possible but needs radii matched to the alloy and section.
Connect this to broader aluminum work: our Aluminum Extrusion Services overview, aluminum CNC machining for post-extrusion machining, Machined Aluminum Parts for hybrid parts, and Aluminum Heatsink Manufacturing for thermal profiles.
From Prototype to Production
A typical path is concept CAD, engineering review, die development, trial extrusion, sample inspection, adjustment, then mass production. Prototype the die before committing volume—it catches flow and distortion issues cheaply. Share annual volume so the supplier recommends the right die construction and price.
Die cost is a one-time investment amortized across the run, so higher volume justifies a more robust, longer-life die. For a short pilot, a simpler die may be enough; for a million-unit program, spend on durability. Also confirm cut length and machining needs up front—if the profile will be [[P:cnc-bending|bent]] or drilled after extrusion, design the walls thick enough to support those operations. The prototype stage is the last cheap point to change the shape, so use it.
Frequently Asked Questions
What wall thickness works best?
Uniform walls of at least about 1 mm, thicker for long runs. Avoid large thickness variation that causes warpage.
Which alloy should I pick?
6063 for form and finish, 6061/6082 for structural strength. Match temper to the load case.
Do hollow profiles have a weak seam?
They have a weld seam from the porthole die. Place it away from loaded areas and specify seam checks if critical.
How does anodizing affect design?
It adds thickness and highlights surface defects, so plan coating allowance and specify clean die quality.
When should I review with the extruder?
Before tooling. A pre-die DFM review prevents expensive changes after the steel is cut.
Can extrusions be machined after?
Yes—laser cutting, CNC machining, and bending add features, but design walls thick enough to support them.
Ready to Start Your Project?
Send us your drawings and requirements. Our engineering team will review manufacturability and return a competitive quote with realistic lead time—usually within 1–2 business days.