
Progressive die stamping is the reason a seat belt buckle bracket costs eleven cents instead of four dollars. A coil of steel feeds into a press, advances one station at a time, and at each station a different operation happens: pierce, notch, coin, draw, form, and finally cut off. One press stroke produces one finished part, and a modern press runs 200 to 1,200 strokes per minute. If your annual volume is above roughly 50,000 pieces and the geometry is reasonably flat or shallow-formed, no other process comes close on unit cost. The catch is the tooling — a progressive die is a serious capital item, and understanding when the break-even arrives is the single most important commercial decision you will make on the part.

How a Progressive Die Actually Works
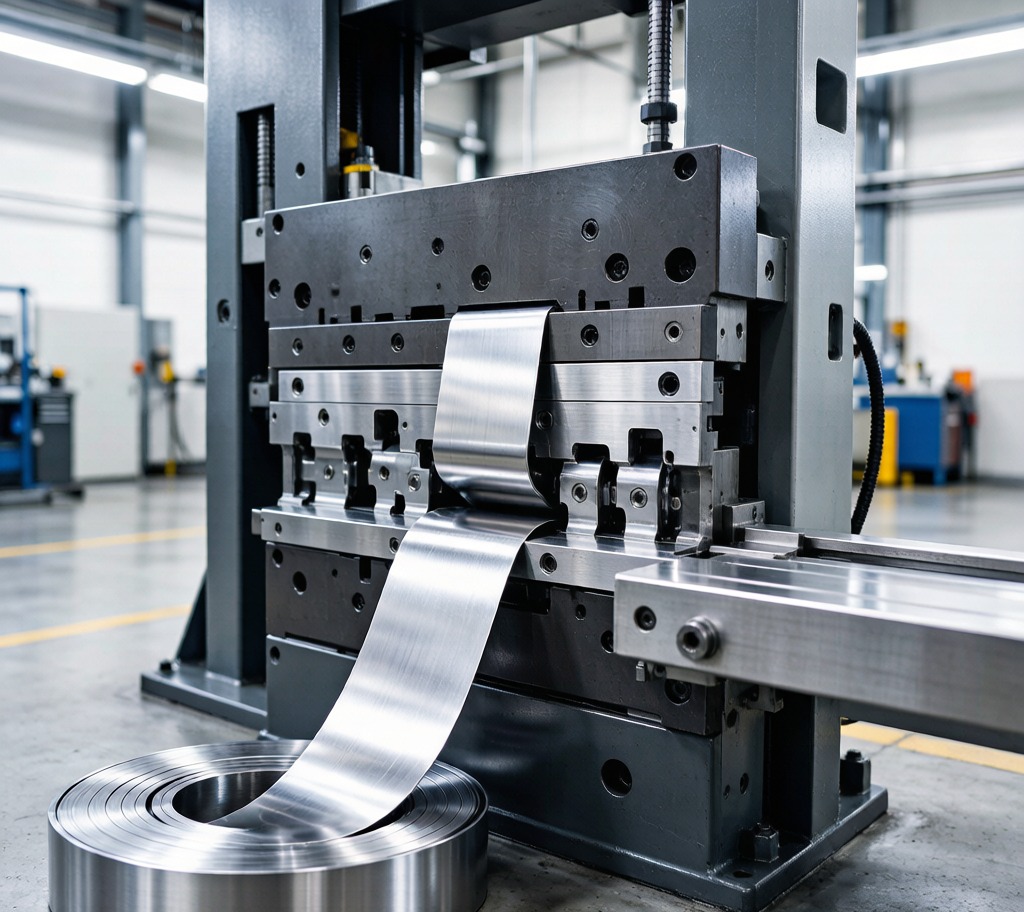
The material is a coil, uncoiled and straightened, then fed by a servo feeder into the die at a fixed pitch. The strip carries the part through the die on a carrier web — thin strips of scrap left deliberately intact so the part stays attached and registered until the final station. Pilot pins engage previously pierced holes at every station to correct feed error to within a few microns.
Each station does one job. Splitting the work this way keeps forces low, tool stresses manageable, and lets you build complexity that would tear the material if attempted in one hit. A 24-station die producing a formed and tapped connector terminal is entirely normal. Idle stations are inserted between working stations to give the strip room to relax and to leave space for future engineering changes.
The final station cuts the part free from the carrier. Parts drop through a chute into a bin or, for delicate work, are caught on a conveyor. Because the whole cycle is closed-loop, quality is remarkably consistent: the thousandth part and the millionth part come off the same die geometry, with wear compensated at scheduled sharpening intervals.
Progressive vs Compound vs Transfer Dies
A compound die performs several cutting operations in a single stroke at a single station. It is cheaper, gives excellent flatness and hole-to-edge accuracy, but cannot form. Use it for washers, flat shims, and simple blanks.
A transfer die physically moves the part from station to station with mechanical fingers instead of a carrier strip. That freedom lets you produce deep-drawn cups, tall cylindrical shells, and parts with features on all sides — geometry a carrier web could never support. Transfer tooling costs more and runs slower. If your part is a deep shell rather than a flat bracket, read our guide to metal deep drawing services before committing to a die style.
Progressive dies sit in the middle and cover the overwhelming majority of commercial stamped parts: brackets, clips, terminals, lead frames, shielding cans, spring contacts, and lamination stacks. For a broader overview of the family of processes, our metal stamping services article maps out which one fits which part.
Tooling Cost and the Break-Even Point
A simple four-station progressive die might cost USD 6,000 to 12,000. A 20-plus station die with cam-driven side forms, in-die tapping, and carbide inserts can run USD 60,000 to 150,000. That money buys tool steel, wire EDM time, grinding, fitting, and tryout — typically 5 to 10 weeks of lead time.
Against that, piece price collapses. A bracket that costs USD 2.40 as a laser-cut and press-brake part might cost USD 0.09 stamped. If the die is USD 40,000, break-even lands near 17,000 pieces. Above that volume you save money every stroke; below it you have bought an expensive paperweight.
This is why we quote both routes for borderline volumes. Fabricated prototypes using sheet metal laser cutting and CNC bending services let you validate the design and ship early production while the die is being built. Once demand is proven, the same drawing transfers to hard tooling with no redesign.
Materials, Thickness and Design Rules
Cold-rolled steel, HSLA, stainless 301/304, spring steel, brass, phosphor bronze, beryllium copper, and aluminium 3003/5052 all stamp well. Thickness typically ranges from 0.05 mm foil for shielding and lead frames up to about 6 mm for structural brackets, with 0.5 to 3 mm being the commercial sweet spot.
A handful of design rules protect your tooling budget. Keep minimum hole diameter at or above material thickness. Keep hole-to-edge and hole-to-bend distances at least 1.5× thickness. Use a bend radius no tighter than 1× thickness for steel and 1.5× for hardened aluminium. Add relief notches at the ends of bends. Avoid features that require the strip to be formed in two opposing directions at the same station. Where a feature is genuinely impossible in-die, plan a secondary operation — CNC punching and metal shearing services cover many of these economically at low volume.
Tolerances, Quality and Secondary Work
Realistic tolerances on a well-built progressive die are ±0.05 mm on pierced hole diameters, ±0.1 mm on hole-to-hole dimensions across a station, ±0.15 mm on formed dimensions, and ±0.5° on bend angles. Flatness on a 50 mm bracket typically holds within 0.2 mm. Tighter than that is achievable with coining stations and precision-ground die sets, but expect the tooling cost to rise steeply. Our article on precision metal stamping covers the tighter end of the capability envelope in detail.
Burr height is controlled by punch-to-die clearance, usually set at 5 to 10 percent of material thickness per side, and by sharpening schedule. Where a burr-free edge is mandatory, we add a shaving station or route parts through deburring afterwards.
Downstream, stamped parts commonly go to zinc plating for corrosion protection, to stamping + welding cells for sub-assembly, or to powder coat. Consolidating stamping and finishing under one roof removes a logistics leg and one round of inbound inspection, which matters more than most buyers expect on a 500,000-piece annual programme. Our sheet metal processing capability covers those secondary steps in-house.
Frequently Asked Questions
What volume justifies a progressive die? As a rule of thumb, 50,000 pieces per year or 150,000 lifetime. Below that, laser cutting and press braking usually wins. We run the break-even calculation on every quote so you can see the crossover point for your specific part.
How long does progressive tooling take to build? Five to ten weeks depending on station count and complexity, plus one to two weeks of tryout and first-article approval. Simple two- to four-station dies can be ready in three weeks.
Who owns the die? You do, when you pay for it. We hold and maintain customer-owned tooling in a controlled store, log stroke counts, and schedule sharpening. Dies can be released to you or transferred at any time.
How many parts will a die produce? A tool-steel die typically runs 1 to 3 million strokes between rebuilds, and carbide-insert dies exceed 10 million. Routine sharpening every 200,000 to 500,000 strokes keeps burrs in specification.
Can you handle engineering changes after the die is cut? Minor changes — hole size, slot length, bend angle — are usually accommodated by replacing an insert. Structural changes to the strip layout may require a new die, which is why we invest heavily in the strip layout review before cutting steel.
What files do you need to quote? A 3D model (STEP or IGES) plus a 2D drawing with material grade, thickness, tolerances, finish, and annual volume. From that we return a strip layout concept, tooling price, piece price at several volume tiers, and lead time.
Ready to Start Your Project?
Get a build-ready quote on your custom metal parts within 24 hours. Share your drawing and our engineers will respond with process, lead time, and pricing.