
CNC machining is the most flexible way to turn a drawing into a precise metal part, but flexibility cuts both ways: every feature you specify has a cost in cycle time and tool access. A few design choices move the quote more than any others, from tolerances and internal radii to threads and thin walls. This CNC machining design guide covers the decisions that matter so you can design parts that machine fast and quote low, whether you need five prototypes or five thousand.
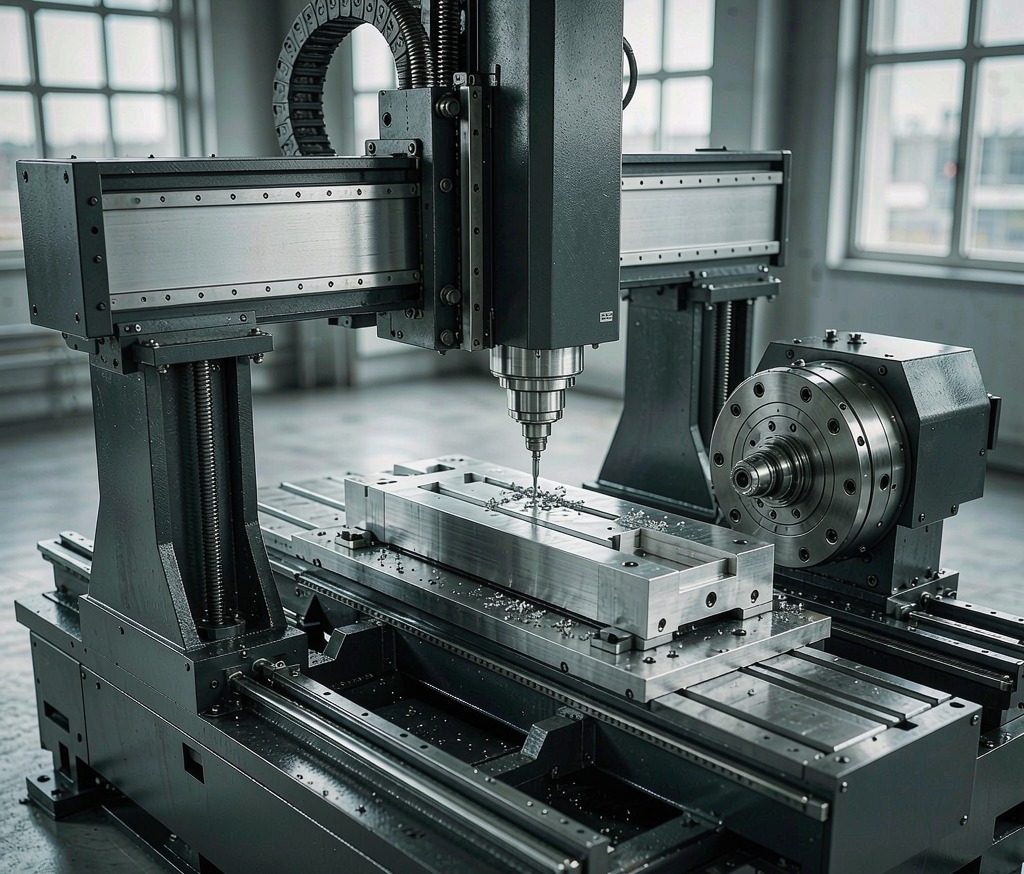
How CNC Design Choices Drive Cost
Raw stock, spindle time, and the number of setups are the big cost drivers. A part that can be roughed and finished in one clamp on a CNC turning center is dramatically cheaper than one that needs three fixtures and three load-unload cycles. Designing for fewer setups is the single highest-leverage cost decision you make before quoting. Ask your shop which orientations they prefer and orient the part to suit the spindle, not just the drawing view.
Tolerances Worth Specifying
Machining holds plus or minus 0.025 mm on a good day, but paying for that everywhere is wasteful. Tighten tolerances only on mating and sealing features; let the rest float at plus or minus 0.1 mm. Our CNC machining tolerances guide shows where tighter really pays and where it just adds price. A drawing that calls out one critical bore at tight tolerance and leaves the rest open reads as a mature design and quotes lower.
Internal Radii and Tool Access
Every internal corner is cut by a round tool, so it carries a radius. Calling out a zero-radius inside corner forces an expensive EDM or hand break-out. Design inside corners with a radius near the cutter size and the part machines in one pass. For flat critical faces, a surface grinding finish after milling delivers the plane you need without re-cutting the whole pocket, which is cheaper than chasing flatness on the mill.
Threads and Tapped Features
Tapped holes are cheap but slow; threaded inserts cost more per part but speed assembly and survive repeated disassembly. Blind holes need clearance below the thread for the tap, and through threads are faster than blind. When volumes rise, machined threads give way to formed or rolled threads, a trade we cover in precision machining programs built for production. Specify thread class only as tight as the assembly needs.
Thin Walls and Deep Pockets
Thin walls chatter and deflect under the cutter, so keep walls above roughly 0.8 mm in aluminium and 1.5 mm in steel where possible. Deep pockets need long tools that wander, hurting tolerance; shallow, wide pockets cut truer. A light deburring step after CNC drilling and milling keeps edges clean for assembly without a second operation, and precise CNC boring holds bores true where turning cannot reach.
Material and Stock Selection
The blank you start from shapes the cost. Near-net extrusion or plate stock removes less metal than a big billet, and the alloy dictates tool life and feed rate. Discuss stock options with the shop early; a small change in starting form can remove minutes from every cycle. This is where prototype machining pays off, because you learn the right stock before committing to volume.
When to Add a Finishing Step
Not every part needs a finish, but bearing surfaces, welds, and cosmetic faces often do. Plan finishing as a separate operation rather than forcing the mill to do what a grinder or coater does better, and your cycle time drops. See how a full CNC machining service sequences rough, finish, and secondary work to hit both tolerance and lead time without padding the quote.
CNC Machining Design Checklist
Run through this checklist before you send the CAD. These are the items that most often separate a cheap, fast quote from a costly one.
- Design datums the machine can locate in one clamp, which keeps setups low on a CNC turning center and avoids extra fixtures.
- Give every internal corner a radius near the cutter size so the mill finishes in one pass instead of an EDM break-out.
- Tighten tolerances only where parts mate or seal; leave the rest at plus or minus 0.1 mm and true critical faces with 5-axis CNC machining or surface grinding.
- Keep walls above about 0.8 mm in aluminium so they do not chatter, and let CNC milling rough and finish efficiently.
Should I design for 3-axis or 5-axis from the start?
If the part has features on three or more faces, design for 5-axis access so it can be cut in fewer setups. A 3-axis design forces extra fixtures that quietly raise the per-part cost across the whole run.
Frequently Asked Questions
What tolerance can CNC machining reliably hold?
Standard machining holds about plus or minus 0.05 mm, and plus or minus 0.01 to 0.025 mm is achievable on critical features with careful setup. Paying for tight tolerance on non-critical dimensions only raises cost.
Should internal corners be sharp?
No. Every internal corner is cut by a round tool, so design a radius. Sharp inside corners require EDM or manual break-out and add significant cost and lead time.
Is 3-axis or 5-axis better for my part?
3-axis suits prismatic parts with features on one or two faces. A 5-axis CNC machining center reaches complex angles in fewer setups, which is cheaper for contoured or multi-sided geometry despite a higher hourly rate. The fewer setups usually win.
How do I reduce setups on a complex part?
Design datums that the machine can locate in one clamp, group features by access direction, and avoid features that need the part flipped three times. Fewer flips mean fewer fixtures, less handling, and a lower quote.
Ready to Start Your Project?
Get a build-ready quote on your custom metal parts within 24 hours. Share your drawing and our engineers will respond with process, lead time, and pricing.