
Sensors sit at the edge of every automated system, measuring pressure, temperature, position, and flow in environments that are wet, hot, vibrating, or electrically noisy. The metal housing around a sensor determines whether it survives and whether its readings stay trustworthy. This guide explains how to specify and manufacture metal sensor housings that protect sensitive electronics in the harshest industrial conditions.
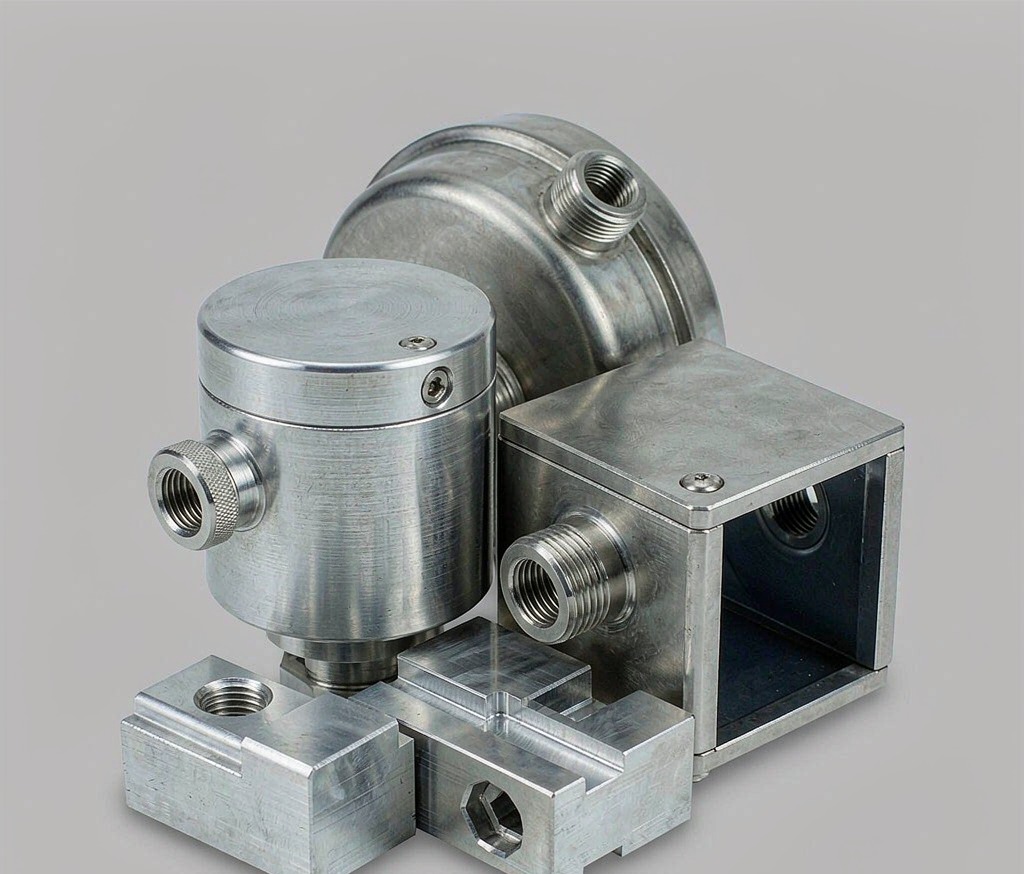
What a Sensor Housing Must Do
A sensor housing provides mechanical protection, environmental sealing, and often electromagnetic shielding. It must mount precisely, resist corrosion, and sometimes dissipate heat away from the electronics inside. Our CNC milling and CNC turning produce the tight, repeatable geometries that keep a sensing element correctly positioned relative to the process it monitors, batch after batch.
Material Choices
Aluminum is the default for weight and machinability; stainless steel is chosen for chemical, marine, or food environments where cleaning agents are aggressive. Anodizing seals aluminum against corrosion, while passivation restores the chromium-oxide layer on stainless that gives it inertness. For a deeper look at enclosures, see our custom metal enclosures guide, which compares materials across duty cycles.
Sealing & Ingress Protection
O-ring grooves, gasket faces, and cable glands define the IP rating of the device. Tight groove dimensions and smooth machined surfaces are essential, because a nicked face or oversized groove will leak long before the electronics fail. Our custom metal housings article walks through groove design, gland selection, and how to specify compression correctly on the drawing.
EMI/RF Shielding
In electrically noisy plants, a conductive metal shell is the first line of defense against false readings. Continuous, well-grounded aluminum housings suppress interference from drives and radios. Our EMI/RF shielding parts guide covers coating and bonding techniques that maintain shield integrity across the seam where two halves meet.
Manufacturing Approaches
For low volumes, machine the housing from solid bar or plate for speed and design freedom. At higher volumes, die-cast or extrude the shell and machine only the sealing faces. Our die casting services suit repeatable, complex housings, while powder coating adds a durable exterior finish that survives handling and weather. Choose the route based on annual volume and how often the design changes.
Thermal Management Considerations
Some sensors generate or absorb significant heat, and the housing becomes part of the thermal path. Extruded fins, bonded heat-sinks, or simply a thicker aluminum wall can keep the electronics within range. Discuss your power dissipation with the shop so the geometry and material are chosen to conduct heat away rather than trap it, which protects both accuracy and component life in continuous duty.
Procurement Best Practices
Bundle housings with their matched brackets and covers where possible so tolerances are controlled as a set. Request a first-article report that documents groove dimensions, surface finish, and coating thickness, and keep that baseline on file for reorder. A supplier who treats the housing as a system, not a single milled block, will save you integration effort downstream.
Working With Your Supplier Early
Involve the housing manufacturer while the sensor is still on the drawing board. They can flag features that are hard to machine, suggest a standard groove that meets your seal need, and recommend an alloy that balances cost with the environment. This collaboration prevents the classic late change where a small housing tweak forces a redesign of the PCB or cable entry, saving weeks of schedule when the project is already behind.
Documentation & Traceability
For sensors used in safety or regulated equipment, keep the housing’s material certificate and finish records with the device file. A supplier who provides batch-level traceability makes your own compliance audit straightforward and lets a suspect lot be isolated quickly. Treat the housing as a qualified component in its own right, not a commodity block, and your quality system will be stronger for it.
Getting Started on Your Housing
Begin by writing down the environment, the seal type, and the signal or power the housing must protect, then share that with a manufacturer who machines and finishes in one place. A short call often resolves more than a long email thread, and it sets the tone for a partnership where the supplier watches out for your failure modes. With the right collaborator, a robust, sealed, shielded sensor housing becomes a solved problem rather than a recurring source of field returns and rework.
Design for Manufacture
Avoid undercuts at sealing features, standardize wall thickness to reduce warpage, and design grooves that are reachable by standard tooling. An early DFM review reduces scrap and lead time and often reveals a simpler way to achieve the same protection. Share your environmental spec, including temperature range and cleaning method, so the shop can recommend the right alloy and finish rather than guessing.
Validation Before Production
Prototype housings should be tested for ingress and, where relevant, EMI performance before committing to a run. A first-article report that documents groove dimensions, surface finish, and coating thickness gives confidence the production parts will behave identically. This step is cheap insurance against field returns that cost far more than the test.
Frequently Asked Questions
Which material for a food-plant sensor housing?
316L stainless with passivation resists corrosion and cleans easily; aluminum is usually avoided in frequent washdown zones where pitting risk is higher.
How do I reach IP67?
A machined groove with a correctly sized O-ring, a smooth mating face, and verified compression delivers IP67 when tested according to the standard.
Does a metal housing block the signal?
For RF sensors, use a non-conductive window or slot; for wired sensors, metal is fine and actually adds beneficial shielding against noise.
Is machining or casting better for 2,000 units?
Machining is faster to start with no tooling investment; casting becomes economical as volume and geometric complexity rise together.
Ready to Start Your Project?
Get a build-ready quote on your custom metal parts within 24 hours. Share your drawing and our engineers will respond with process, lead time, and pricing.